
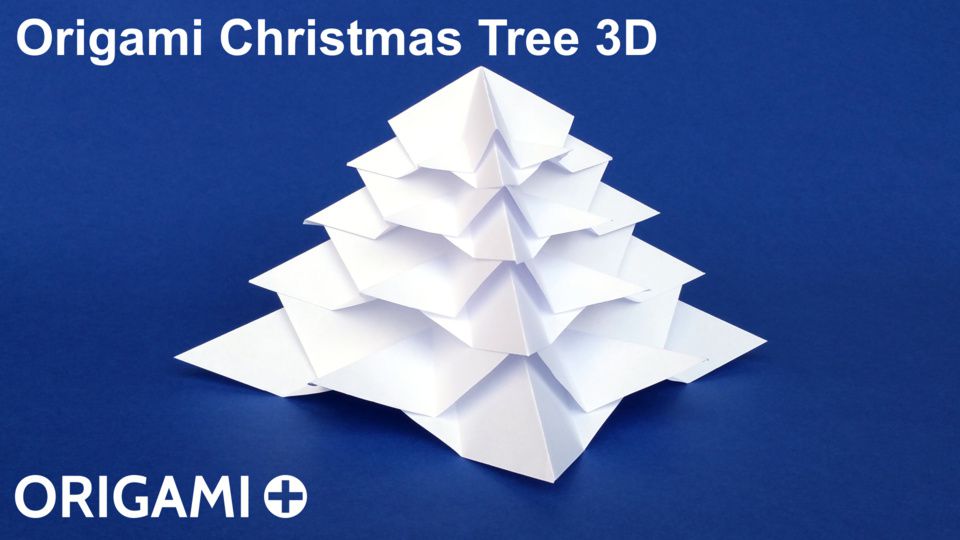
This 3D Christmas Tree is an original modular origami model. It is made of 8 modules that can be easily and quickly folded. Then to make your Christmas Tree, you just need to put the modules on top of each other.
To make the tree, you need 8 squares of paper: 4 pairs of diminishing size. The length of each pair is 3/4 of the previous pair. To make it easy, I provide sets of ready-to-print squares of the right size. One set contains all 8 squares that you can print on a single sheet of copy paper. If you want a bigger tree, you can print two copies of the second set that contains only 1 square of each size.
→ All 8 squares on one sheet of paper
→ 4 squares of one sheet of paper (print 2 copies)
I made a snow covered tree using plain white copy paper, but you can print the squares on colored paper too to make a green tree, a red tree or a rainbow tree with 8 different colors!
To make a 3D Christmas Tree in origami, please follow the instructions from this video on YouTube:

Here are the step-by-step instructions to fold a 3D Christmas Tree (photo diagram and/or video).

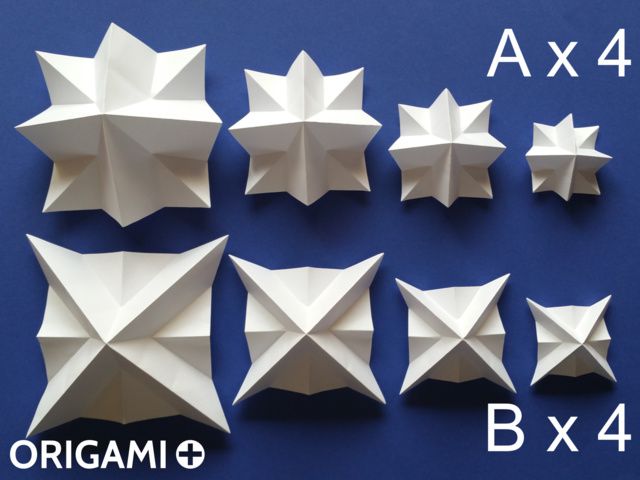
1. The tree is made of 8 modules: 4 modules of type A, and 4 modules of type B.
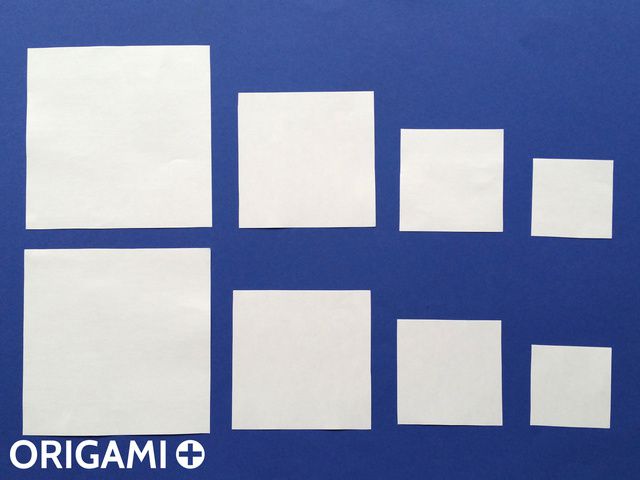
2. You will need 4 pairs of squares of decreasing size. The length of each square is 3/4 of the length of the previous one.
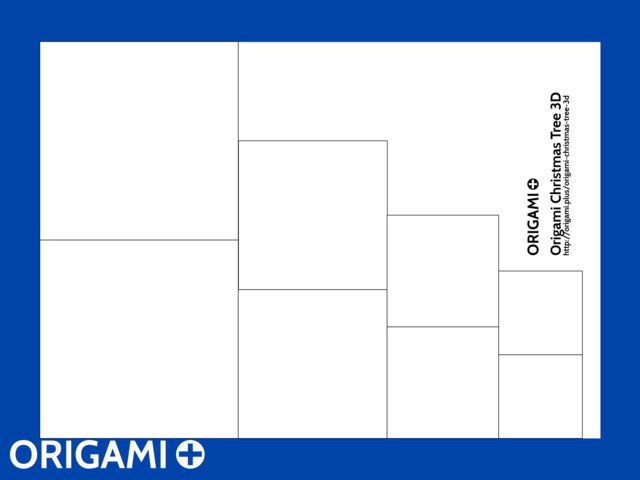
3. To make it easy, I created a template that you can print on regular copy paper. You can then easily cut the 8 squares.
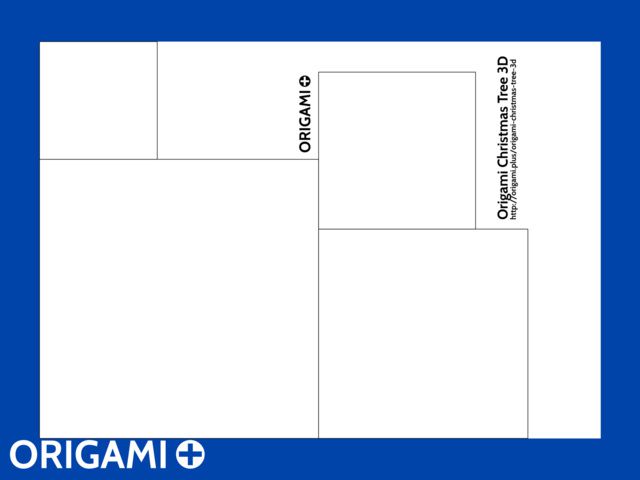
4. For a slightly bigger tree, you can print two copies of this template.

5. Instructions for folding module A.
6. Start with a square sheet of paper.

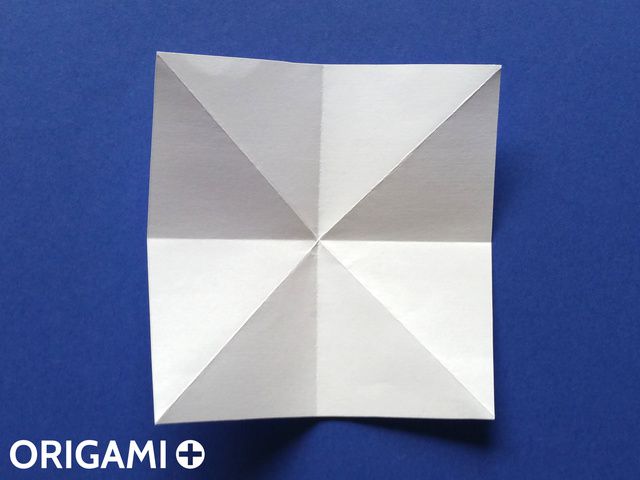
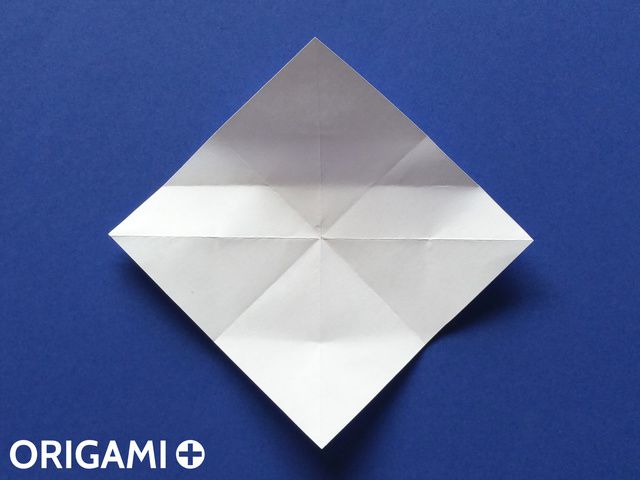
7. Fold and unfold the two diagonals.

8. Turn the model to the other side.
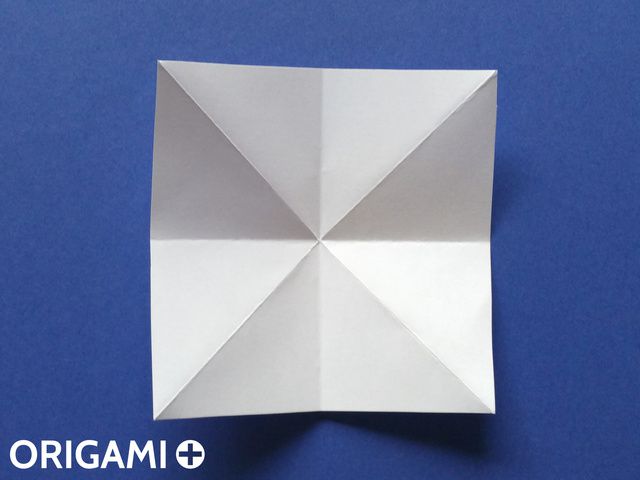
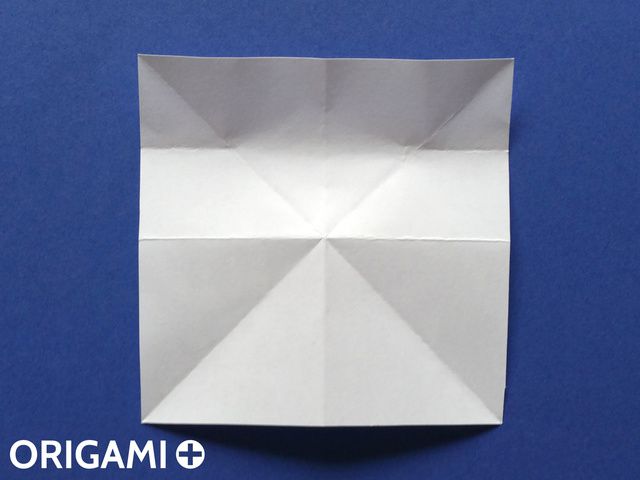
9. Fold and unfold horizontaly and verticaly.
10. Turn the model to the other side.
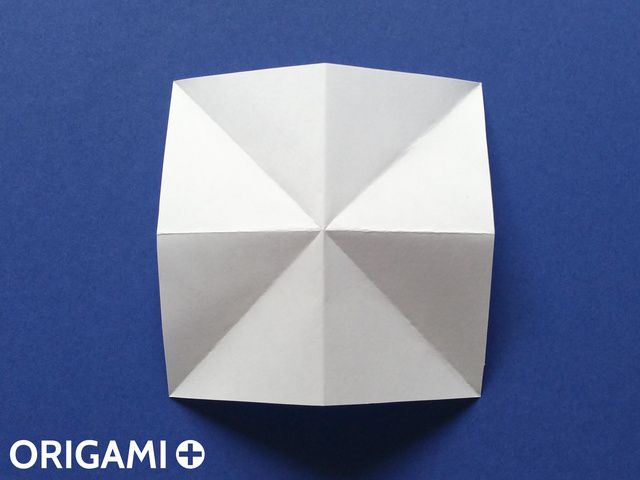
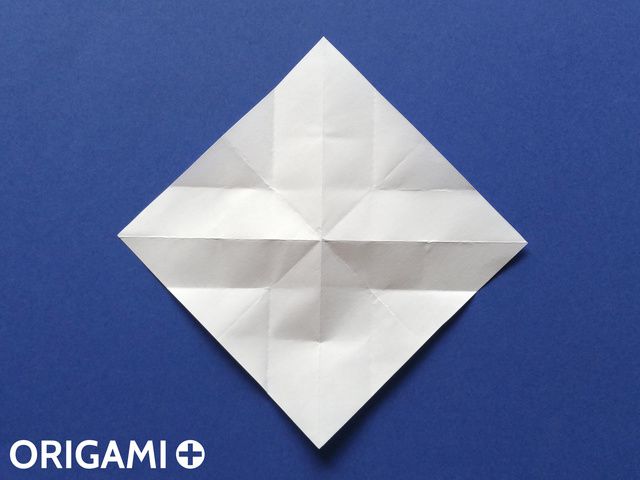
11. Bring the top side to the center, but mark the fold only at the top right.
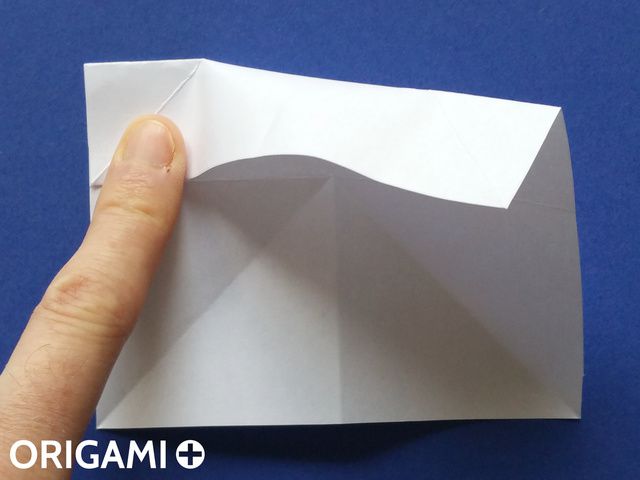
12. Then mark the fold at the top left. Don't mark the fold in the middle.
13. Unfold.
14. Repeat for the 3 other sides.

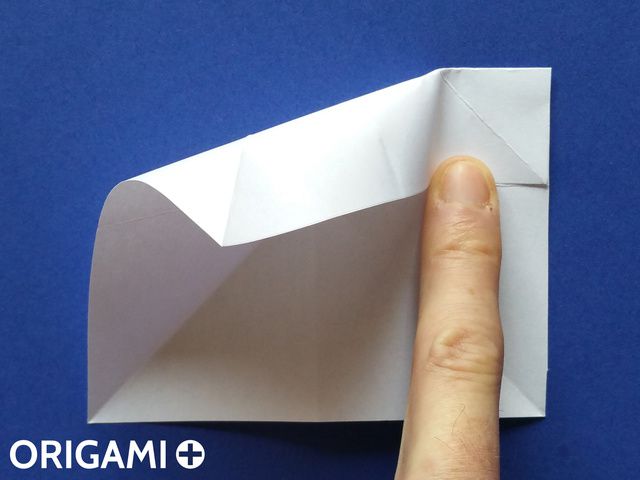
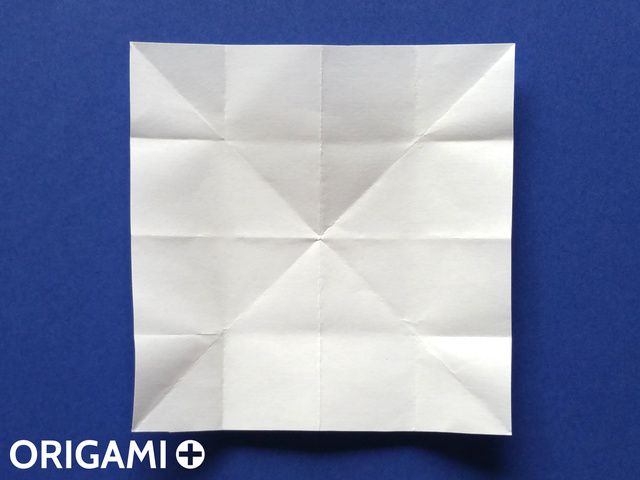
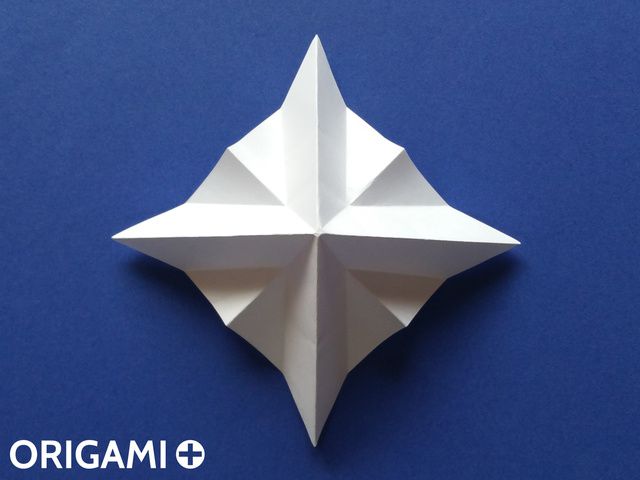
15. Fold again the horizontal and vertical folds.
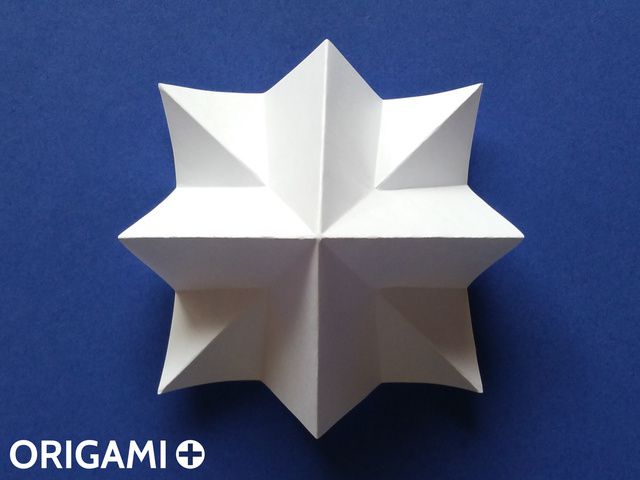
16. Invert the folds in the 4 corners. Your first module A is complete. Only 3 more needed!

17. Instructions for folding module B.
18. Start with a square sheet of paper.

19. Fold and unfold the two diagonals.

20. Turn the model to the other side.
21. Fold and unfold horizontaly and verticaly.
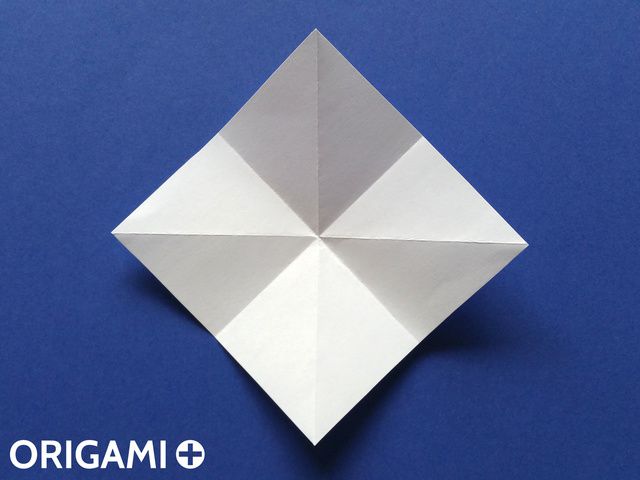
22. Turn the model by 45 degrees.

23. Bring the top tip to the center, and just mark the top center slightly.
24. Unfold.

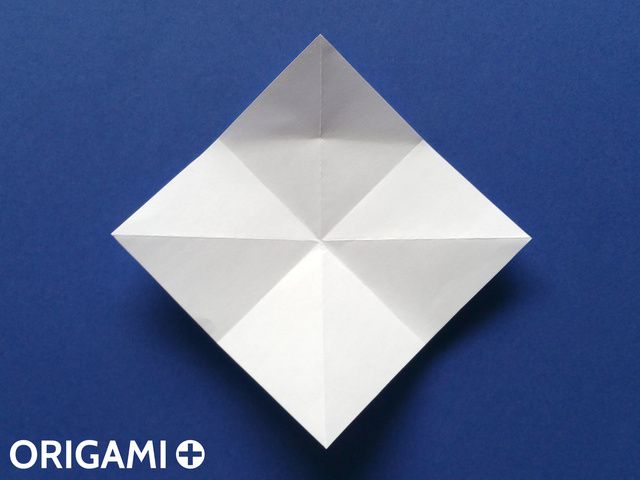
25. Repeat the marking on the 3 other sides.

26. Bring the top tip to the mark you made near the bottom. Mark the fold in the top right.

27. Mark the fold in the top left. Do not mark the middle of the fold.
28. Unfold.
29. Repeat for the 3 other sides.

30. Fold again the two diagonals.
31. Invert the folds in the middle of each side. Your module B is complete. 3 mores needed!
32. Once you have folded your 8 modules, you just need to put them on top of each other, alternating modules A and B. Start with the biggest module B and put it on the bottom.

33. And here is your 3D Christmas Tree!
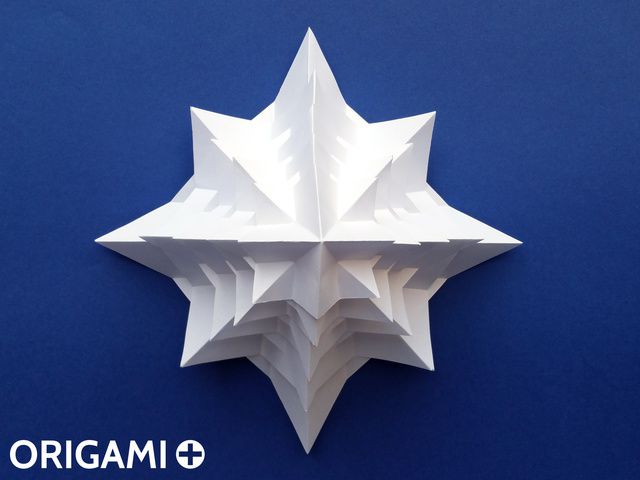
34. From the top, the tree looks like a beautiful star.
I hope you will like this 3D Christmas tree origami model. It is my first try to design modular origami. Please let me know if you fold it!
Merry Christmas and Happy Holidays Everyone!
If you fold this 3D Christmas Tree, please send me pictures of your paper Christmas Tree 3D so that I can show them here.
Have you tried this this 3D Christmas Tree origami model? How did it turn out? Please tell me, and send me a picture of your model so that I can add it on this page!
If you like this 3D Christmas Tree and my other origami models, you can support me on Patreon. Thank you!
Origami is the art of folding paper to create animals, plants, objects and geometric forms.
Origami models with easy to follow step-by-step instructions in video and photos.
Diagrams to fold origami models can be difficult to interpret sometimes. For each model we show a photo of each step so that you can easily fold all models. Each origami model also has a video that shows how to fold it.
Subscribe to the Origami + YouTube channel to be notified when I publish new origami models and videos. If you like my original origami models and videos, please support me on Patreon. Thank you!
Join me on the Origami + Facebook page and follow @Origami_Plus on Twitter to talk about origami, share your origamis and suggest new models!
Copyright © 2015-2022 Stéphane Gigandet
Legal -
Contact -
Origami Links
For even more origami fun:
